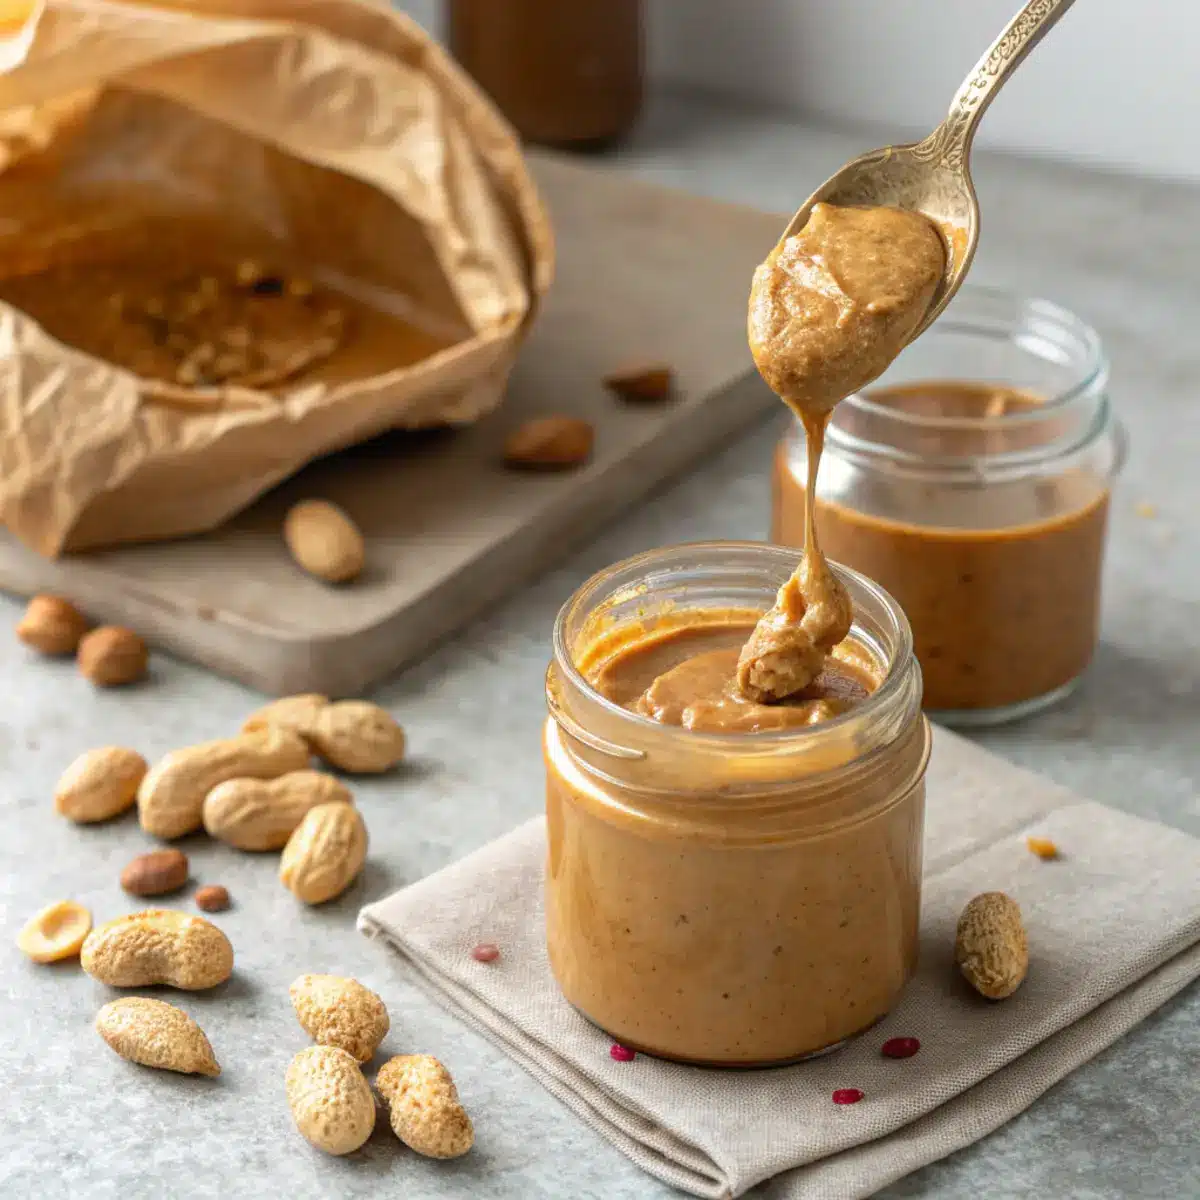
Pink Velvet Cake: Soft, Stunning, and Perfect for Any Celebration
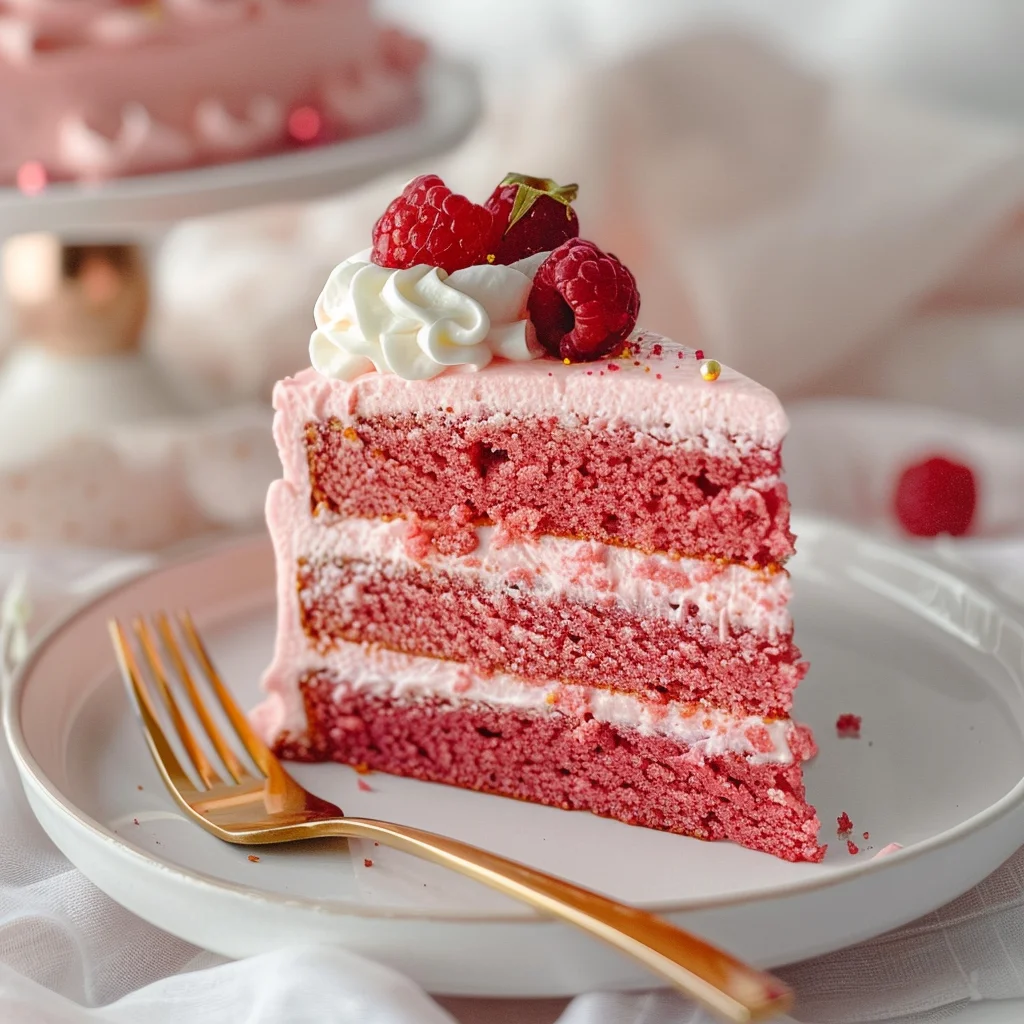
Pink velvet cake is more than just a pretty bake, it’s a tender, moist layer cake with a soft vanilla flavor and just a whisper of color. Whether you’re baking for a birthday, a bridal shower, or just because, this cake promises wow-worthy elegance without complicated steps. In this article, I’ll share a personal story behind this recipe and walk you through each phase of creating a gorgeous pink velvet cake with stabilized whipped cream frosting. We’ll talk texture, color options, and the little secrets that make this cake taste as delightful as it looks.
Table of contents
On the page:
Why Pink Velvet Cake Means More Than Pretty Layers
The memory behind the pink velvet layers
If you’ve ever peeked inside my studio kitchen on a spring morning, you’d likely find streaks of pink batter across my apron and soft floral music playing in the background. That’s usually my signal, it’s pink velvet cake day. I first baked this cake after a bride-to-be asked me for something romantic but not red velvet. I thought about my Nana’s love for gentle pastels and how she once told me, Pink is just red with a little grace. That was the moment this cake was born.
It’s not just about color. This pink velvet cake is about softness in flavor, in texture, and in sentiment. It uses egg whites for a lighter crumb, buttermilk for a subtle tang, and the tiniest touch of pink to give it a glow that feels like sunlight filtered through rose-colored glass. I remember my first attempt ended up more beige than blush, and Nana and I laughed as we smeared raspberry jam between layers to save it. That became part of the charm. Now, when I bake this cake in my dessert studio in Northampton, it feels like a love letter to that carefree experimentation.
What makes a pink velvet cake so special?
Unlike its bold cousin red velvet, pink velvet cake is delicate. The color is lighter, the crumb finer, and the overall vibe just a bit more elegant. It’s built on a vanilla base rather than cocoa, which lets the flavor of the buttermilk and pure vanilla shine. That whisper of pink color I prefer electric pink liquid food coloring for an even tone makes it perfect for weddings, baby showers, or any celebration where beauty and taste go hand in hand.
What really sets this pink velvet cake apart isn’t just the flavor, though, it’s how easy it is to build. You’ll start by baking tender cake layers, then finish it with a cloud of stabilized whipped cream frosting. The whipped cream is light, pipe-able, and less sweet than buttercream, which keeps the cake tasting fresh. And yes, it’s stackable and fondant-friendly for when you’re feeling fancy.
For inspiration on other show-stopping cakes, check out my cinnamon roll focaccia bread or keep things lighter with these easy healthy dessert recipes. for more recipes check out our facebook page.
PrintPink Velvet Cake: A Stunning Twist on Classic Velvet Layers
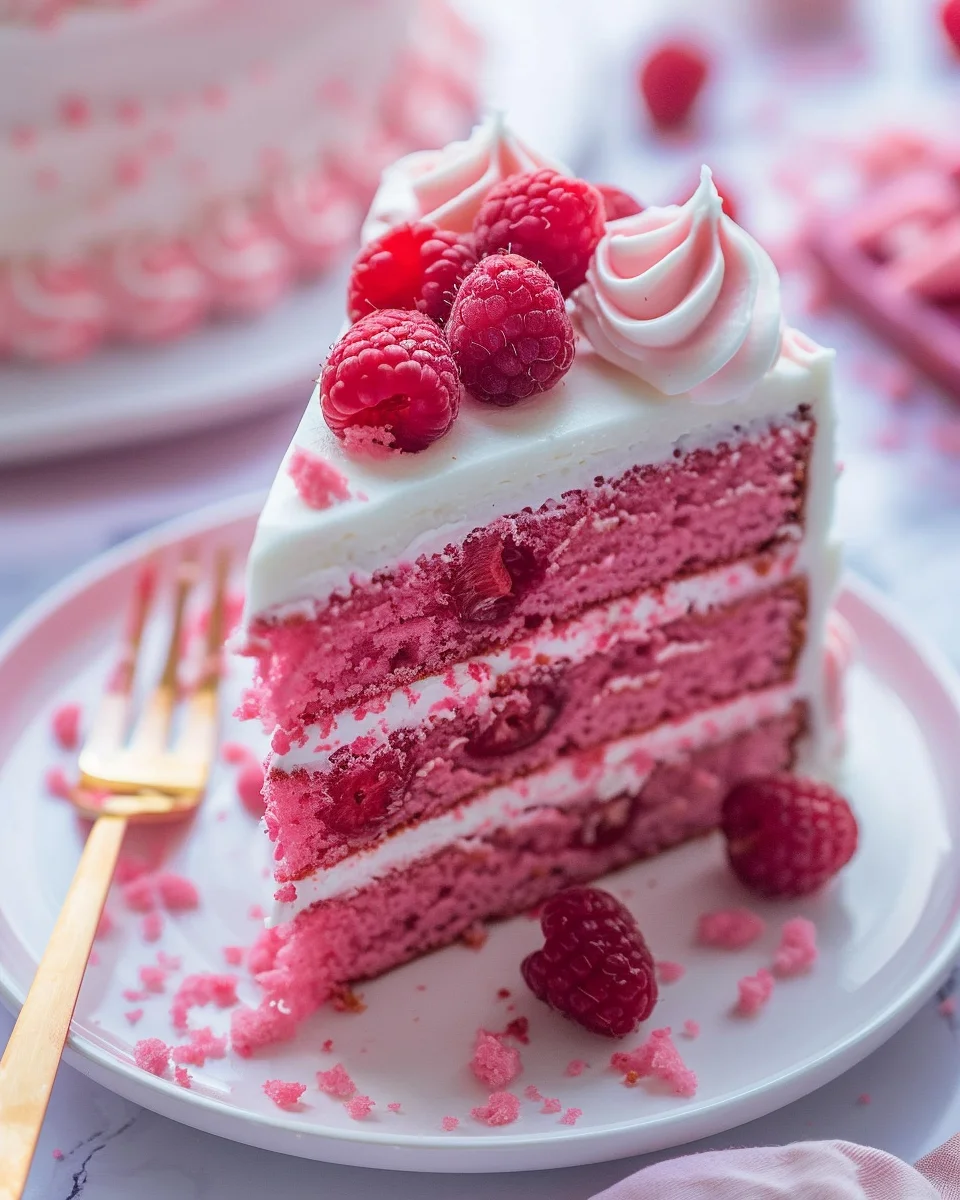
A delicate and fluffy vanilla-flavored pink velvet cake, layered with stabilized whipped cream and topped with fresh raspberries.
- Prep Time: 30 minutes
- Cook Time: 40 minutes
- Total Time: 1 hour 10 minutes
- Yield: 12 servings
- Category: Dessert
- Method: Baking
- Cuisine: American
- Diet: Vegetarian
Ingredients
13 oz cake flour
12 oz granulated sugar
1 tsp salt
1 tbsp baking powder
½ tsp baking soda
5 oz egg whites (room temperature)
4 oz vegetable oil
10 oz buttermilk (room temperature)
6 oz unsalted butter, softened
2 tsp vanilla extract
2 drops electric pink food coloring
Stabilized Whipped Cream:
24 oz heavy whipping cream (cold)
4 oz powdered sugar
2 tsp powdered gelatin
1 tbsp cold water
1 tsp vanilla extract
1 tsp heavy cream
1 cup fresh raspberries (garnish)
Instructions
1. Preheat oven to 335°F. Prepare three 6″x2″ cake pans with cake goop or non-stick spray.
2. In a stand mixer, combine flour, sugar, baking powder, baking soda, and salt.
3. Mix oil with half of the buttermilk and set aside.
4. In another bowl, combine the remaining buttermilk, egg whites, vanilla, and food coloring. Whisk to combine.
5. Add softened butter to the dry ingredients and mix on low until it resembles coarse sand.
6. Add the oil/buttermilk mixture to the bowl and mix on medium for 2 minutes.
7. Scrape the bowl. On low, add the egg white mixture in 3 batches, mixing 15 seconds between each.
8. Scrape the bowl again and divide batter evenly between pans. Fill pans ¾ full.
9. Bake for 35–40 minutes until a toothpick comes out clean.
10. Tap the pans once on the counter to release steam. Cool 10 minutes in pan, then flip onto wire racks.
11. Bloom gelatin in cold water for 5 minutes. Microwave 5 seconds to melt. Stir in heavy cream.
12. Whip cold heavy cream to soft peaks. Add sugar and vanilla and continue whipping.
13. Slowly drizzle in gelatin mix and whip to stiff peaks.
14. Trim cake domes and brown edges. Layer with whipped cream between layers.
15. Apply a crumb coat and chill for 10 minutes. Frost with final layer of cream.
16. Decorate with piped swirls and fresh raspberries.
Notes
Use a scale to weigh all ingredients for accuracy.
Room temperature ingredients help prevent curdling and uneven mixing.
Do not over-whip stabilized cream or it will turn to butter.
Chill cakes before stacking for clean assembly and stability.
Perfecting the Ingredients and Blush Tone of Pink Velvet Cake
How to get that iconic pink velvet color naturally or artificially
Let’s talk about the star of the show color. The “velvet” in pink velvet cake is really all about texture, but that rosy hue? That’s what draws eyes at the dessert table. Most bakers use a few drops of electric pink food coloring to achieve that signature pastel tone. I prefer a liquid food coloring because it dissolves smoothly into the milk and egg white mixture, giving an even blush without streaks. If all you have is gel coloring, no problem just stir it into a teaspoon of warm water first. That little trick helps avoid pink freckles in your batter.
Now, if you’re avoiding artificial dyes, don’t worry there are natural ways to bring out that soft pink tone. A touch of strawberry emulsion or raspberry juice concentrate can tint your batter without overpowering the vanilla flavor. I’ve also had success with beet powder, but it does darken slightly during baking. So, test your shade before committing.
The pink velvet cake’s color isn’t just about looks, it sets the mood. Think afternoon tea parties, gender reveals, or garden weddings. And if you’re curious about making beautiful cakes with bold but natural ingredients, you’ll love my guide to easy healthy dessert recipes.
Essential ingredients that make this cake velvety soft
This cake works like a charm because of the balance between fats and liquids. What Each Ingredient Does in Pink Velvet Cake:
- Cake Flour (13 oz): This gives the cake its ultra-soft crumb. Using all-purpose flour won’t yield the same tender texture.
- Egg Whites (5 oz): They lighten the cake without adding density, making the crumb incredibly fine and even.
- Buttermilk (10 oz): Adds tang and moisture. Slightly warming it before mixing helps everything emulsify smoothly.
- Softened Butter (6 oz) and Vegetable Oil (4 oz): The butter adds richness, while the oil keeps the crumb from drying out—perfect for layer cakes that need to hold their shape.
- Vanilla Extract (2 tsp): Use a good-quality vanilla because its flavor is front and center in this recipe.
Pro Tip: Your ingredients must be room temperature no exceptions. Cold buttermilk or egg whites can cause your batter to curdle or collapse during mixing. Also, weigh your ingredients using a scale. This isn’t the cake to eyeball measurements. Trust me, precision means perfection.
After combining everything, don’t skip that final step of beating the batter for a full 2 minutes. It activates the gluten just enough to give the cake structure. That’s the secret to layers that hold up beautifully under whipped cream or fondant. For similar tips on achieving clean, celebratory cakes, take a peek at my article on cinnamon roll focaccia bread, you’ll be surprised how much crossover there is when it comes to structure.
Building and Frosting Your Pink Velvet Cake Layers
How to assemble pink velvet cake like a professional
Once your pink velvet cake layers have cooled completely, it’s time for the part that makes the whole thing feel real assembly. I always chill my layers first, it makes trimming, stacking, and frosting way easier and less crumbly.
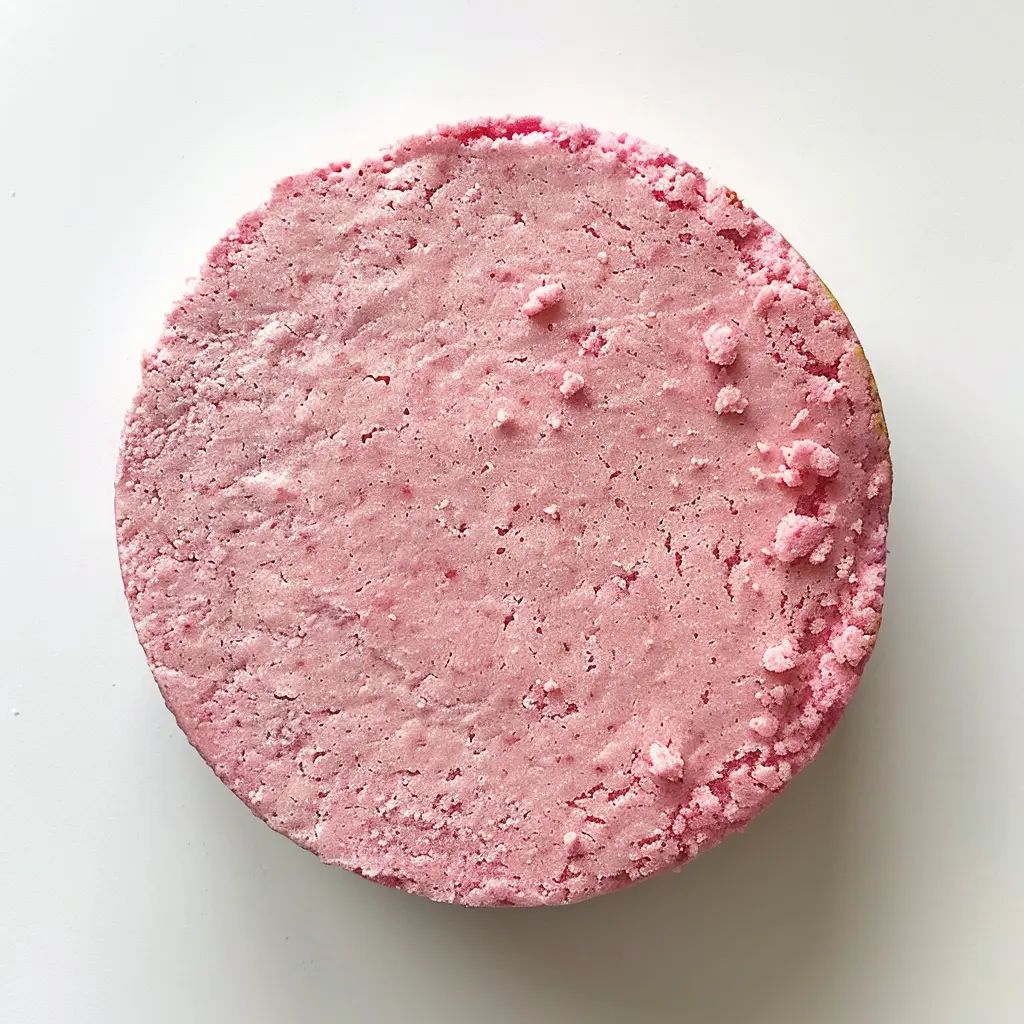
Start by trimming off the domes and brown edges using a serrated knife. If you want perfectly pink slices when serving, this step makes a big visual difference. Place the first cake layer onto your cake board or serving plate. Using an offset spatula, spread a generous layer of stabilized whipped cream across the surface. Place your next cake layer on top, gently pressing to secure. Repeat the process with the remaining layer.
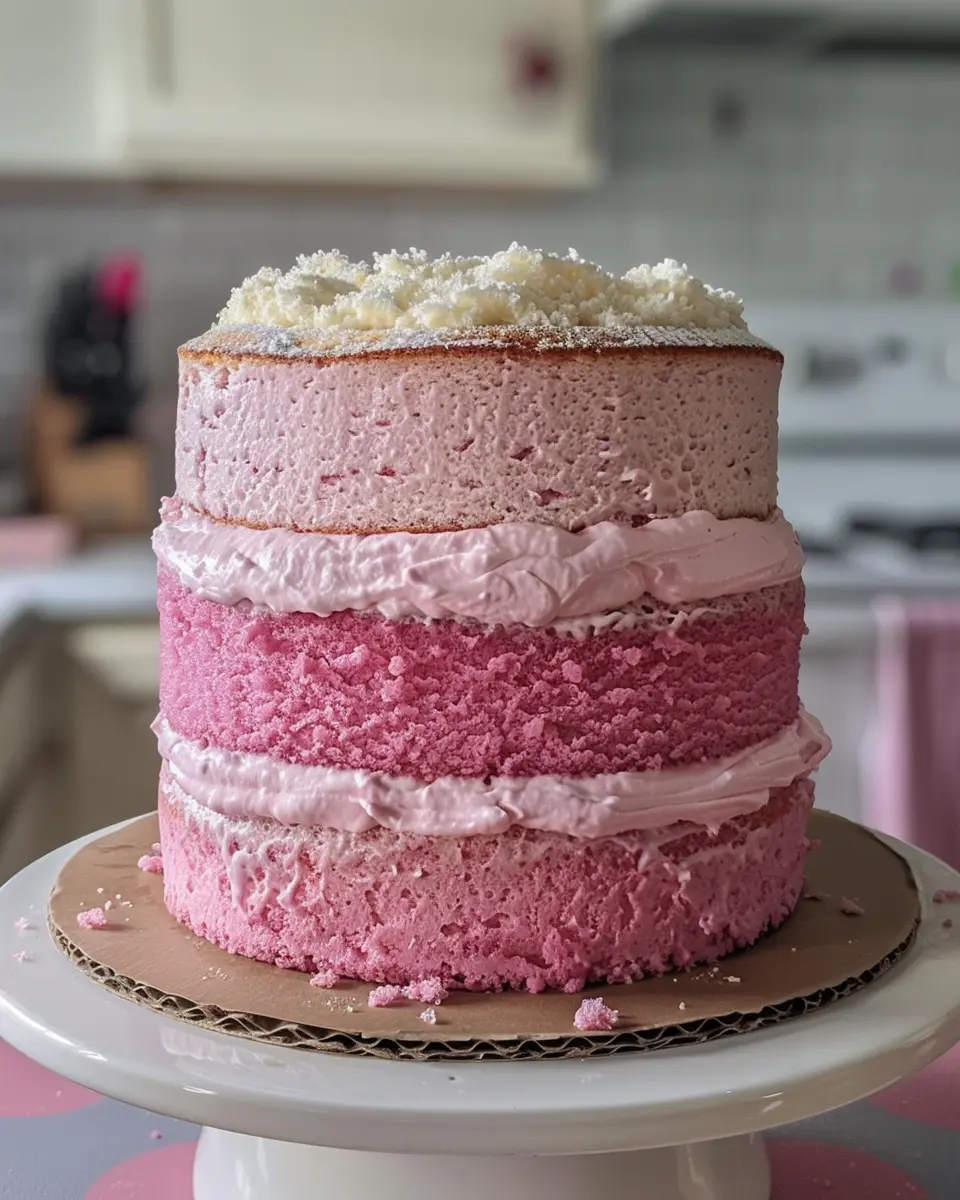
Spread a light layer of whipped cream over the whole cake to catch any stray crumbs. Freeze for 10 minutes to firm it up before finishing.This chill time helps your final frosting layer glide on smoothly and keeps your edges neat.
I love how this frosting style pairs with the soft vanilla of the cake, it’s not too sweet, and the texture is cloud-like. You can serve this as a rustic naked cake or go all in with piped swirls and a few fresh raspberries.
If you’re curious how to master clean finishes on cakes, my tutorial on holiday focaccia bread with a dessert twist breaks down how layering texture can elevate any recipe.
Stabilized whipped cream: the secret weapon for layering
Whipped cream is dreamy, but it’s usually fragile. That’s why I use a stabilized version that holds its shape while staying light and airy. Here’s how:
- Bloom 2 tsp powdered gelatin in 1 tbsp cold water for 5 minutes.
- Melt it in the microwave about 5 seconds. Stir in 1 tsp heavy cream to loosen it.
- In a cold bowl, beat 24 oz heavy whipping cream to soft peaks.
- Add 4 oz powdered sugar and 1 tsp vanilla. Continue beating.
- Turn the mixer to low speed and gradually pour in the gelatin mixture. Beat just until stiff peaks form.
Mix just until stiff peaks form go too far, and you’ll lose that soft, cloud-like texture. It should hold its shape but feel light to the touch.
Want to get creative? Use a cake comb to make interesting ridges on the sides or a 1M piping tip to pipe swirls on top. This is where your cake turns from a treat into a centerpiece.
I often tell my students this frosting behaves like a hybrid between buttercream and mousse: stable enough to stack, but light enough that even guests who don’t like frosting will go back for seconds. If you’re planning cakes for special occasions, this method also works beautifully for tiered designs.
Storing, Serving, and Answering Your Pink Velvet Questions
Best ways to store and serve pink velvet cake
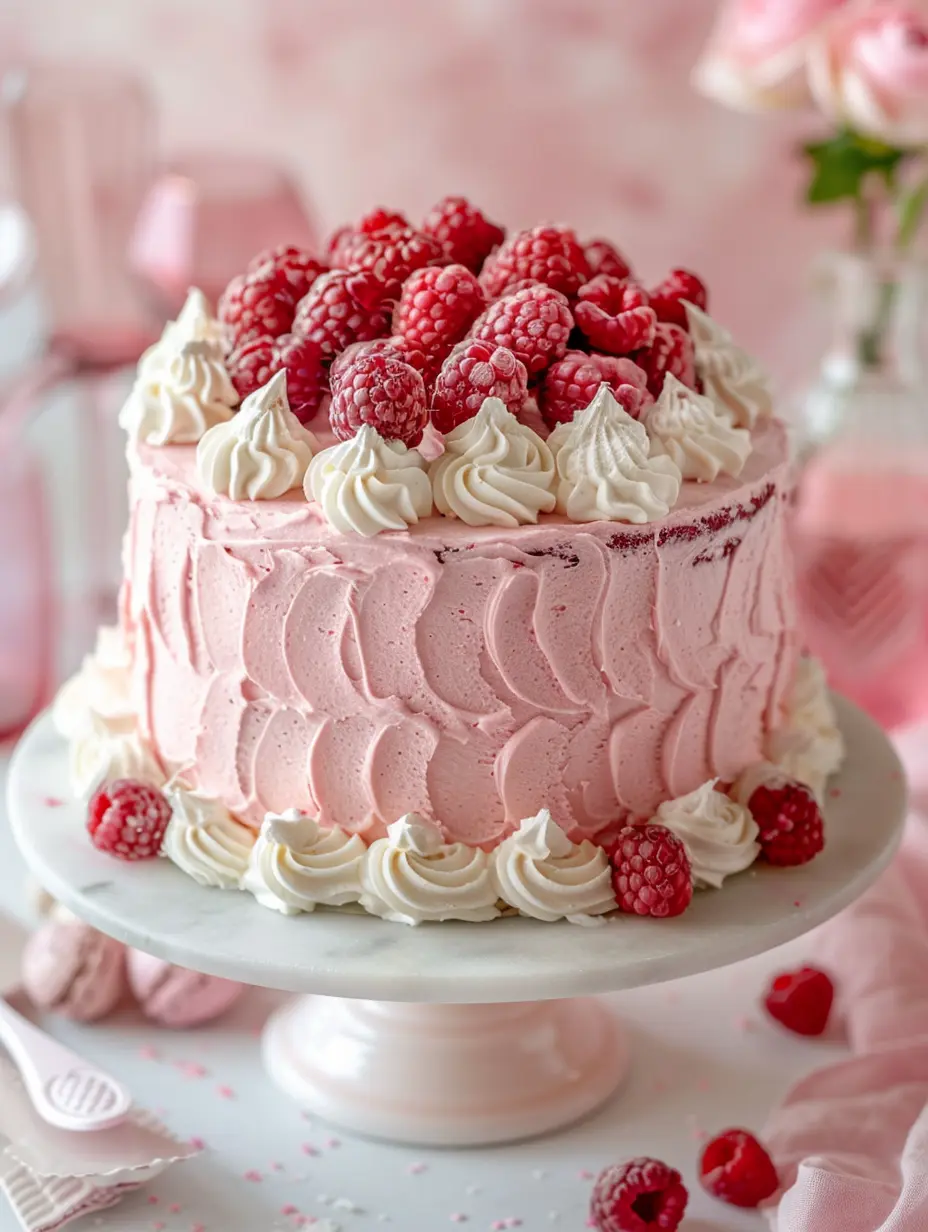
You’ve frosted your masterpiece now what? Let’s keep it looking and tasting amazing. Once assembled, your pink velvet cake can be stored in the fridge, loosely covered, for up to 3 days. Because of the whipped cream frosting, refrigeration is key. Just make sure it’s in a box or cake carrier so it doesn’t absorb other fridge odors. I recommend bringing it to room temperature about 30 minutes before serving for the best texture.
You can also freeze individual layers wrapped in plastic wrap, then foil before assembly. Thaw on the counter, still wrapped, to prevent condensation. This trick is a lifesaver if you’re prepping days in advance.
Want to elevate your presentation? Try decorating the base with fresh raspberries or even candied rose petals for a romantic touch. You can even drizzle on a light pink glaze made from powdered sugar and raspberry juice if you’d like more color contrast.
If you’re in the mood to try more creative desserts that balance beauty and flavor, don’t miss my take on easy healthy dessert recipes. You’ll find treats that stun without the stress.
What flavor is a pink velvet cake?
Pink cake, especially pink velvet cake, is typically vanilla-flavored. It’s similar in texture to red velvet but without cocoa powder, making it lighter and more delicate in taste. The pink color doesn’t affect the flavor—just the charm.
What does the pink velvet cake symbolize?
Pink cakes often symbolize celebration, romance, and sweetness. They’re popular for baby showers, bridal events, and Valentine’s Day. In many kitchens, they also represent nostalgia, comfort, and gentle joy—especially when homemade.
How to make a pink cake without food coloring?
Use natural alternatives like strawberry or raspberry emulsion, beetroot powder, or concentrated fruit juices. These not only tint the cake beautifully but may also add subtle fruity notes, making them a flavorful and dye-free solution.
What is the code for pink cake?
If you’re asking in terms of visual design, pink cake tones range from #FFB6C1 (light pink) to #FF69B4 (hot pink) in hex code. For baking, though, the code is balance: room temp ingredients, accurate scaling, and a loving hand.

